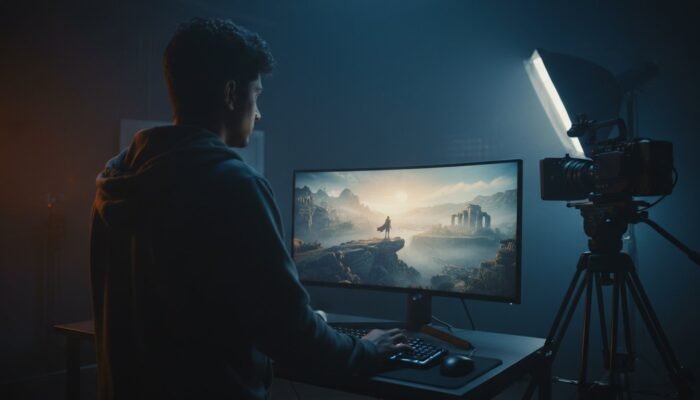
You’ve spent thousands of dollars on a high-end cinema camera. You’ve bought the sharpest prime lenses money can buy. Yet, when you look at your footage, it feels “off.” It looks flat, amateurish, and—dare we say—cheap. You blame the sensor; you blame the color science. But the truth is much harsher: Your camera doesn’t see the world; it only sees light.
Without a fundamental mastery of light, a $10,000 Alexa 35 will produce images that look like they were shot on a 2010 flip phone. In the world of high-end cinematography, lighting is the secret language of the soul. It is the difference between a clinical recording of reality and a visceral, cinematic experience.
If you are ready to stop “capturing footage” and start “creating frames,” you must master the North Star of cinematography: The 3-Point Lighting Setup. This is not just a technical arrangement; it is the sacred workflow that separates the hobbyists from the masters.
Key Takeaways
- The 3-Point Foundation: Mastering the Key, Fill, and Backlight is the essential “alphabet” of visual storytelling.
- The Smart Side: Why lighting “upstage” (the side furthest from the camera) creates instant cinematic depth.
- Technical Precision: Understanding why CRI and TLCI ratings matter more than the price of your light fixture.
- Problem Solving: Practical fixes for common on-set disasters like glasses glare and “raccoon eyes.”
- The Cinematic Eye: Learning to see light as a narrative tool, not just a way to achieve exposure.
Table of Contents
- The Anatomy of the 3-Point Setup
- Step-by-Step: Your Sacred Lighting Workflow
- Technical Specs: CRI, TLCI, and the Kelvin Scale
- Budget Hacks: Professional Results for $0
- Troubleshooting: Fixing Common Amateur Mistakes
- Expert Insider Tips: The Cinemastery Advantage
- Mastering the Craft: Beyond the Three Points
- FAQ
I. The Anatomy of the 3-Point Setup
The 3-point lighting setup is a classic method used in visual media like video, film, and photography. By using three separate positions, the cinematographer can illuminate the subject however they desire, while also controlling (or eliminating) the shadows produced by direct light.
A. The Key Light: Your Primary Narrator
The Key Light is the “hero” of your scene. It is the strongest light source and defines the overall character of the image. If you were to turn off every other light, the Key Light should still tell the story.
- Placement (The 45/45 Rule): Traditionally, the Key Light is placed 45 degrees to the side of the subject and 45 degrees above the eye line. This creates a naturalistic shadow that mimics the sun or an overhead lamp.
- The “Smart Side” (Upstage Lighting): This is where beginners often fail. To achieve a professional “film look,” you should light the upstage side—the side of the face furthest from the camera. This ensures that the shadows fall toward the lens, creating a sense of mystery and three-dimensional shape. ARRI’s lighting guides often emphasize this “wrapping” effect for high-end drama.
B. The Fill Light: Controlling the Drama
If the Key Light is the “voice” of the scene, the Fill Light is the “mood.” Its primary purpose is to fill in the shadows created by the Key Light without creating shadows of its own.
- The Lighting Ratio: The intensity of your Fill relative to your Key determines your “lighting ratio.” A 2:1 ratio (where the Fill is half as bright as the Key) feels natural and “commercial.” A 8:1 ratio (very little fill) creates the high-contrast, moody look seen in Film Noir.
- The “Zero-Cost” Fill: You don’t always need a second lamp. A simple bounce card (a piece of white foam core or even a white wall) can reflect the Key Light back onto the subject’s face, providing a soft, organic fill.
C. The Backlight (Rim or Hair Light): Creating 3D Depth
The world is three-dimensional, but a camera sensor is a flat, 2D plane. The Backlight is your primary tool for fighting that flatness. By placing a light behind the subject, you create a “rim” or “halo” of light around their shoulders and hair.
- Subject Separation: This rim of light physically separates the subject from the background. Without it, a subject with dark hair might disappear into a dark background.
- The “Z-Axis”: Great cinematography is about creating the illusion of depth. The backlight draws the viewer’s eye through the frame along the Z-axis, making the image feel more immersive.
II. Step-by-Step: Your Sacred Lighting Workflow
Do not just start flipping switches. Cinematography is a process of subtraction as much as addition.
- Start in Total Darkness: Turn off all “house lights,” overhead fluorescents, and lamps. You cannot paint on a canvas that already has paint on it. Start with a “Black Canvas.”
- Position the Key First: Turn on your Key Light. Move it around the subject until you find the Rembrandt Triangle—a small triangle of light on the shadowed cheek. This is the hallmark of classic portraiture.
- Dial in the Fill: Adjust your Fill Light (or bounce) until the shadows have just enough detail. You want to see the subject’s features without “flattening” the face.
- Add the Rim: Position the Backlight behind the subject, usually high up and angled down, to create that hair-line separation. Ensure the light doesn’t spill directly into your camera lens (which causes unwanted flare).
- The Background Light (The Secret 4th Point): While technically a “3-point” setup, pros often add a light to the background itself. This adds texture and “environmental storytelling” to the scene.
III. Technical Specs: CRI, TLCI, and the Kelvin Scale
This is where the “amateurs” get filtered out. You can buy a cheap LED panel on Amazon for $40, but your footage will look sickly and “green.” Why? Because of color accuracy.
CRI vs. TLCI
- CRI (Color Rendering Index): A scale from 0-100 that measures how accurately a light source reveals colors compared to natural sunlight. For film, you should never use a light with a CRI lower than 95.
- TLCI (Television Lighting Consistency Index): While CRI is for the human eye, TLCI is for the camera sensor. A TLCI of 90+ ensures that your camera won’t see weird magenta or green spikes in skin tones.
Color Temperature (Kelvin)
Mixing light temperatures is a rookie mistake.
- 3200K (Tungsten): Warm, orange light (standard indoor lamps).
- 5600K (Daylight): Cool, blue light (standard sunlight).
If your Key Light is Daylight and your Fill is Tungsten, the subject’s face will look like a Neapolitan ice cream of weird colors. Stick to one temperature or use “Bi-color” LEDs to match the environment.
IV. Budget Hacks: Professional Results for $0
You don’t need a 10-ton lighting truck to make a masterpiece. Some of the most iconic scenes in IMDb’s top-rated films were shot with minimal gear.
- The Window as a Key: A large, north-facing window provides the most beautiful, soft “Key Light” imaginable. It’s essentially a giant softbox for free.
- The Shower Curtain Diffuser: If your light is too “harsh” (creating ugly, sharp shadows), hang a white, frosted shower curtain in front of it. This softens the light, mimicking the $500 silk diffusers used on professional sets.
- White T-Shirt Bounce: If you need a Fill light but don’t have a reflector, have a crew member (or a chair) hold up a white T-shirt. It will bounce enough light to soften the shadows on the subject’s face.
V. Troubleshooting: Fixing Common Amateur Mistakes
Raccoon Eyes
If your lights are too high, the brow bone will cast a deep shadow over the eyes, making the subject look like a raccoon.
- The Fix: Lower the light stand slightly until you see the “Eye Light” (a small reflection in the pupil).
Glasses Glare
This is the bane of every corporate videographer. The light reflects off the lenses, obscuring the subject’s eyes.
- The Fix: Remember the Angle of Incidence. Light reflects at the same angle it hits. Move your Key and Fill lights further to the sides and higher up. This pushes the reflection down and out of the camera’s line of sight.
The “Flat” Look
If your light is placed directly next to the camera, you are “front-lighting.” This destroys all shadows and makes the face look like a flat pancake.
- The Fix: Move your Key Light at least 30-45 degrees off-axis from the camera. Shadows are your friend; they create “shape.”
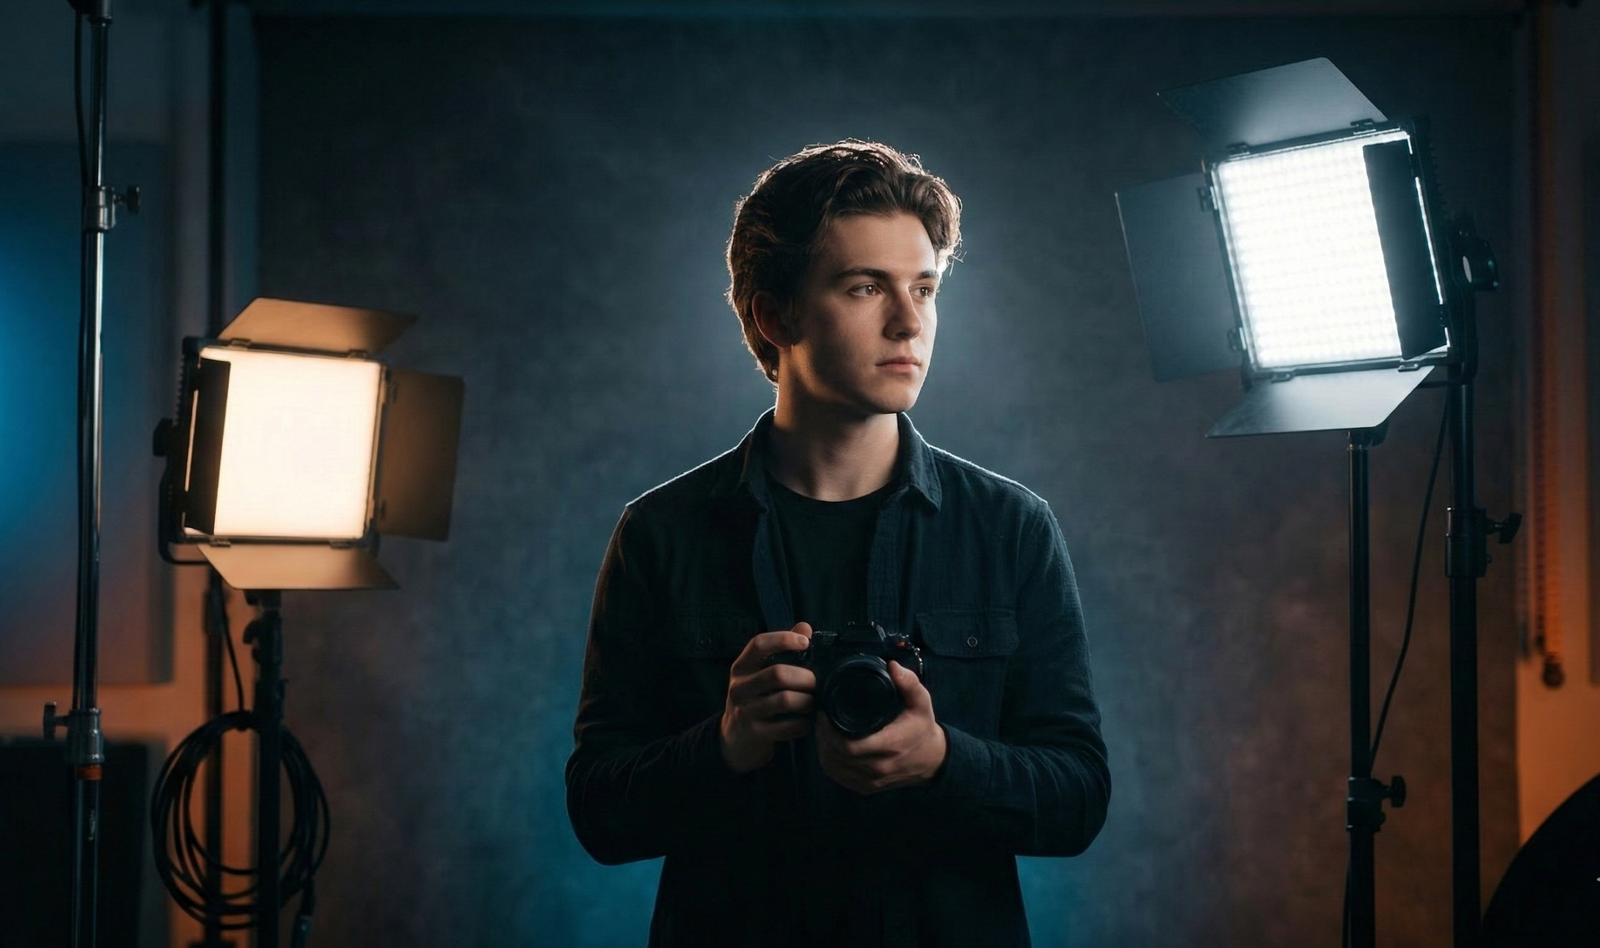
VI. Expert Insider Tips: The Cinemastery Advantage
At Cinemastery Academy, we believe the difference between a technician and an artist is in the “unseen” details.
- Wear Black on Set: If you are standing near the subject wearing a bright red hoodie, your clothes are acting as a “red fill light.” Professionals wear black to avoid accidental light contamination.
- Negative Fill: Sometimes the “fill” is too much, even without a light. Use a black flag or a piece of black foam core on the shadow side to “suck” the light away. This creates deep, moody contrast that looks incredibly high-end.
- The Eye Light (Catchlight): A subject looks “dead” if there is no light reflecting in their eyes. Always ensure there is a tiny “ping” of light in the pupils to bring the performance to life. Kodak’s cinematography archives frequently mention the eye light as the most important light for emotional connection.
- Cable Safety: Nothing screams “amateur” like someone tripping over a cable and knocking over a $2,000 light. “Dress” your cables by taping them down or using sandbags. On a professional set, safety is part of the craft.
VII. Mastering the Craft: Beyond the Three Points
The 3-point lighting setup is a formula, but formulas are meant to be understood and then broken. Once you master this, you can move into Motivated Lighting—the art of making your artificial lights look like they are coming from real sources (a lamp, a window, a fireplace).
Lighting is not a static task; it is a fluid, evolving dance between the gear, the subject, and the story. You are not just illuminating a face; you are illuminating an emotion.
Start Your Journey at Cinemastery Academy
Mastering these three points is just the foundation of your cinematic education. If you want to learn how to manipulate shadows like a Hollywood Gaffer, understand the physics of light, and find your unique visual voice, the journey doesn’t end here.
Forge your own cinematic vision at Cinemastery Academy. Our masterclasses take you beyond the basics, giving you the “boots-on-the-ground” skills needed to compete in the high-stakes world of professional filmmaking. Don’t just watch movies—learn how to make them unforgettable.
VIII. FAQ (People Also Ask)
Q: Can I do 3-point lighting with just one light?
A: Absolutely. Use a window as your Key, a white wall or foam core as your Fill, and a small desk lamp as your Backlight. Lighting is about the direction and quality of light, not the price of the fixtures.
Q: What is the best budget light kit for 2024?
A: For beginners, the Amaran (by Aputure) or Godox series offer incredible CRI/TLCI ratings at a fraction of the cost of cinema-grade lights like ARRI SkyPanels.
Q: How far should my lights be from the subject?
A: This depends on the Inverse Square Law. If you move a light twice as far away, it becomes four times dimmer, but the light becomes “softer” relative to the subject. Generally, keep your lights as close as possible (just out of frame) for the softest, most flattering look.
Q: Is 3-point lighting used in every movie?
A: No. It is a starting point. Many modern cinematographers (like Roger Deakins) use “Large Format” soft lighting or single-source lighting to create a more naturalistic, less “staged” feel. However, you must learn the rules before you can break them.